Win10专业版系统C盘虚拟内存怎么设置?
Win10专业版系统在使用很多软件的时候都会运用到虚拟内存,虚拟内存太小,当操作大的数据图像的时候就会提示暂存盘不够用的情况,那么Win10专业版系统C盘虚拟内存怎么设置?清风下载小编这就教大家如何设置Win10专业版系统C盘虚拟内存。
设置方法如下
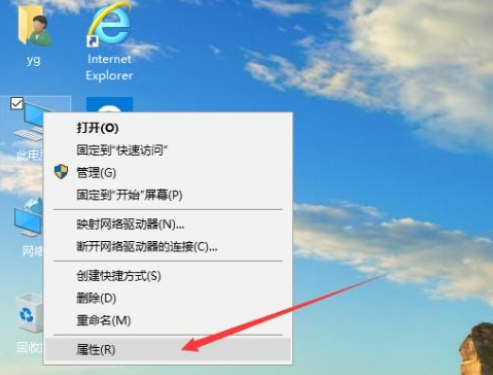
1、首先,在此电脑上单击鼠标右键、选择属性。
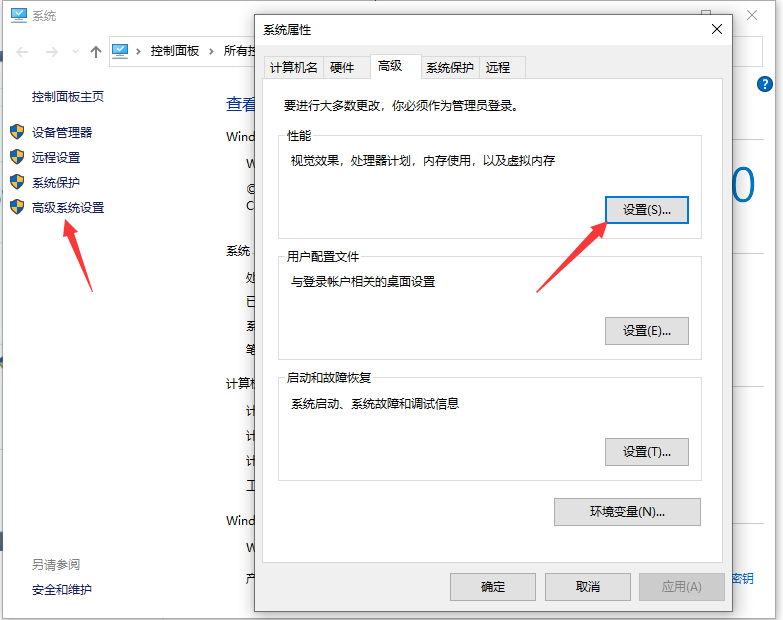
2、在弹出的对话框中点击“高级系统设置”,在系统属性对话框选择“高级”选项卡,然后选择“设置”。
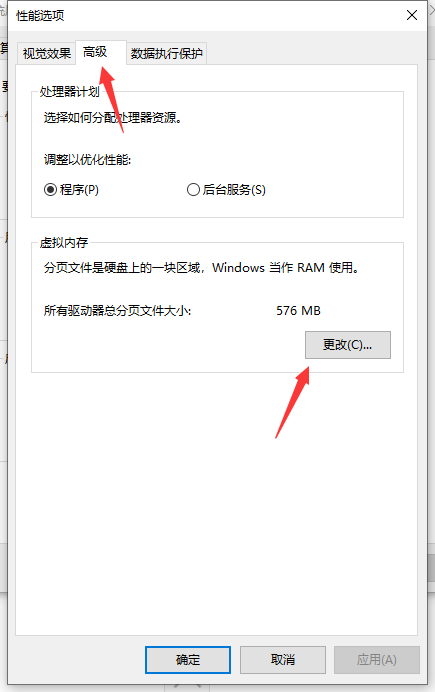
3、在点击“设置”后弹出性能选项,选择“高级”选项卡,选择“更改”。
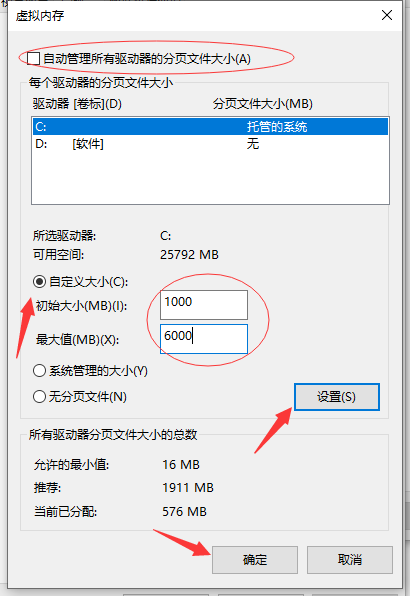
4、选择“更改”后进行“虚拟内存”设置。去掉“管理所有驱动器的页面文件大小”的对勾,选择“自定义”C盘虚拟内存的大小,点击设置。最后点击确定、确定退出,重启系统即可。